Manage your profile, companies and team access in Fiduly
This guide explains how to manage your Fiduly profile, edit your personal details, change your password, enable options, create a company, share access with your team or fiduciary, and customize your documents.
These settings are important to get started properly with Fiduly, set up your workspace, and prepare your accounting, invoicing and user access.
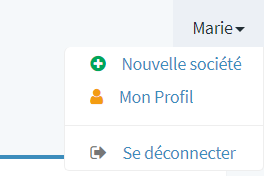
Go to the top right of the home page and click on “My profile” in the drop-down menu.
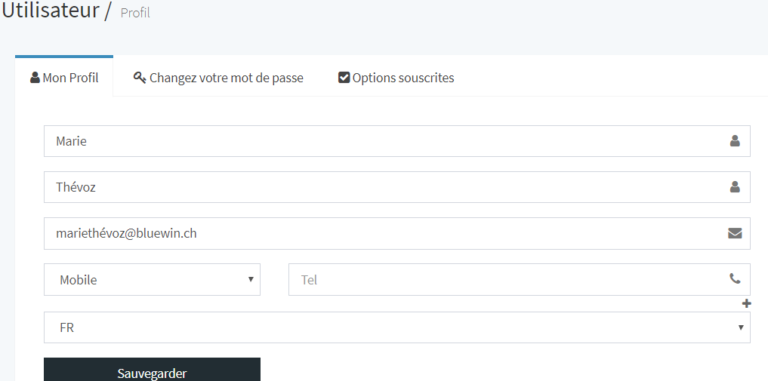
On the “My profile” page, I can enter, modify my name, my email address, my telephone number and the desired language. Press “Save” to validate the changes.
Change password
Go to the top right of the home page and click on “My profile” in the drop-down menu.
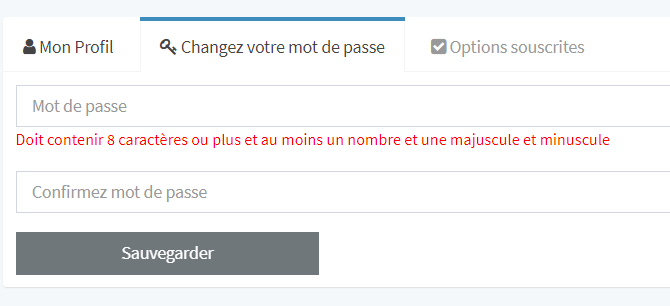
Then click on “Change password” tab. Enter your new password, confirm it and press “save”.
Manage subscription options
Go to the top right of the home page and click on “My profile” in the drop-down menu.
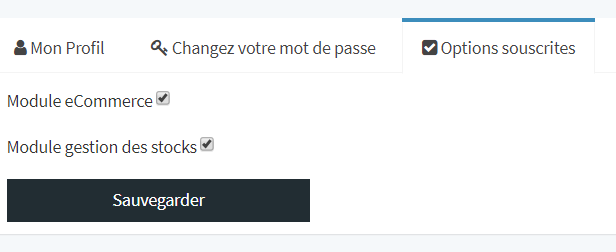
Then click on “Subscriptions”. Check or uncheck the desired options (eCommerce module, inventory management module, salary management module) and confirm by pressing “Save”.
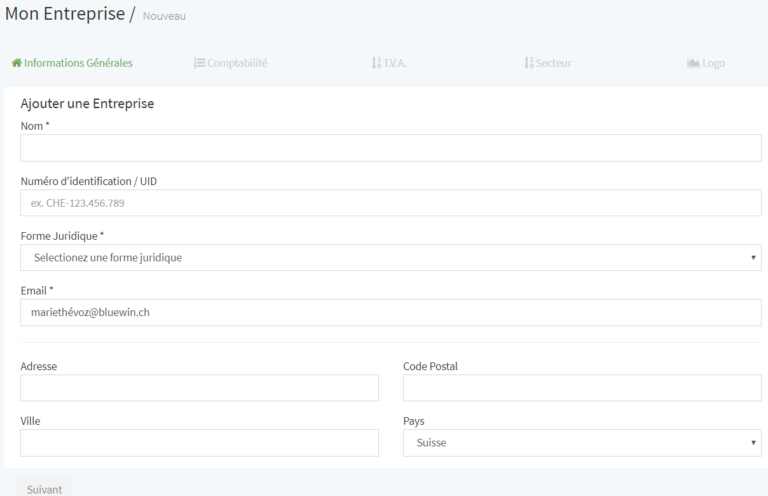
Go to the top right of the home page and click on “Add new business” in the drop-down menu.
Fill in the general information and click on “Next”
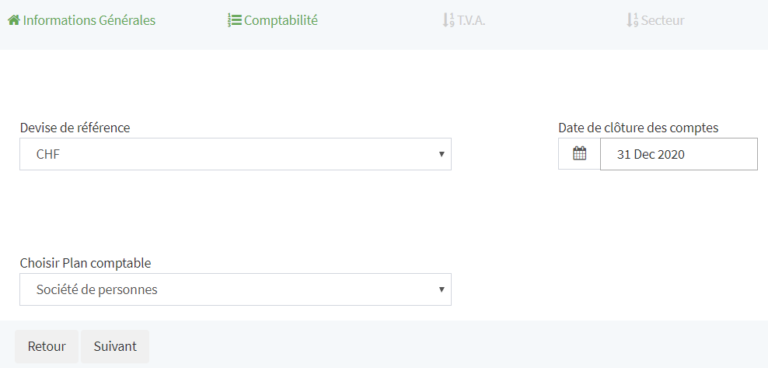
Leave the default Accounting information and click on “Next”. (Fiduly offers you a complete accounting chart adapted to your legal form. You can also at this stage, choose to duplicate the accounting chart of another company in your space.)
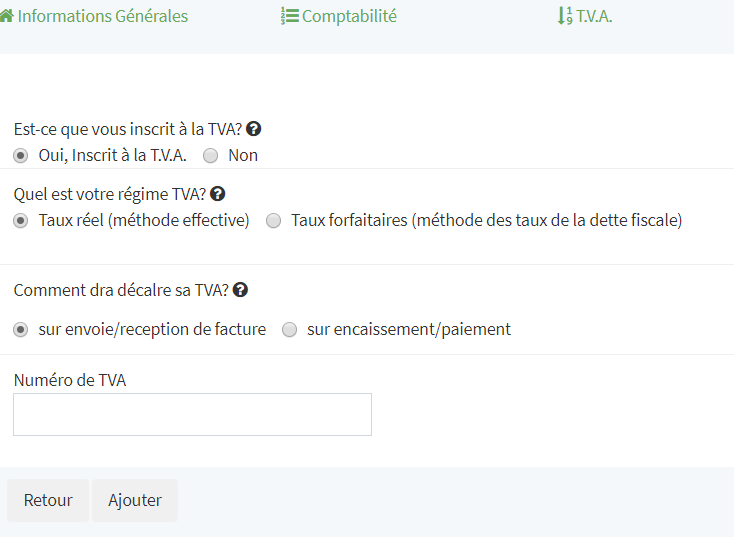
Fill in the VAT information and click on “Next”
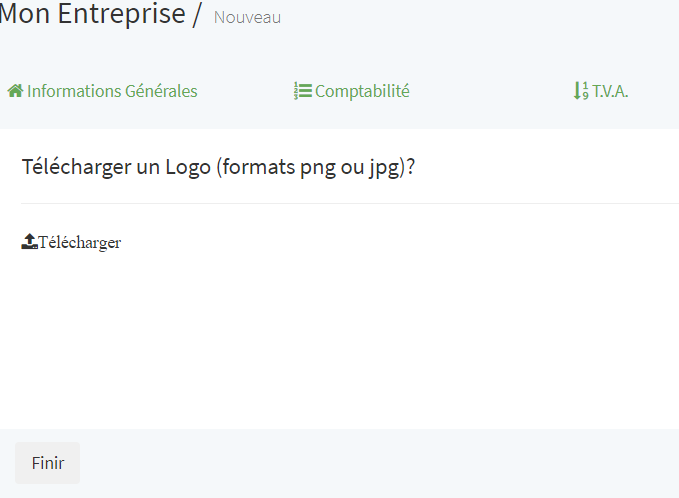
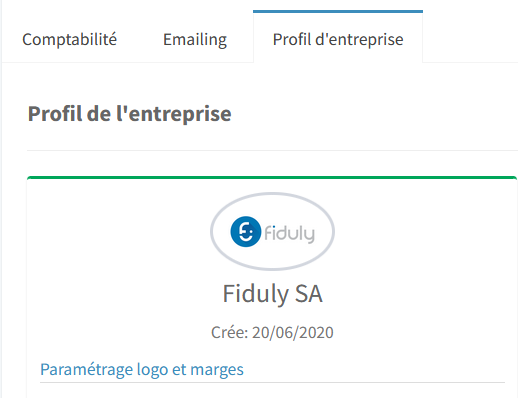
Choose a sector and upload your logo, then click on “finish”. if you skip the logo at this stage, you can add your logo later by going to the “Settings”/”Business profile” page.
Share access with my team or fiduciary
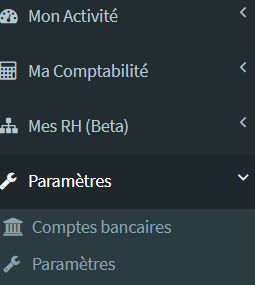
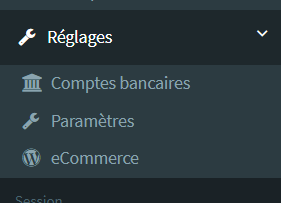
On the left side navigation menu, click on “Settings”
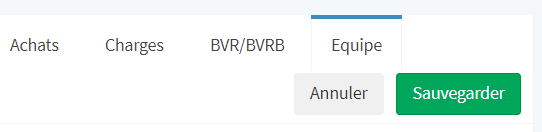
Add the email address of the collaborators with whom you want to share access.
Define the access rights by categories (not shared, read, write, delete) and click on “Share”.If the person already has a Fiduly account, enter the email address with which he/she created the account.The person will receive a confirmation email if they already have a Fiduly account or a link to create a Fiduly account.For security reasons, he/she must create an account with the same email address to have access to your space.
First steps with Fiduly
1- Start by creating a company. (See the question “How to add a company”).
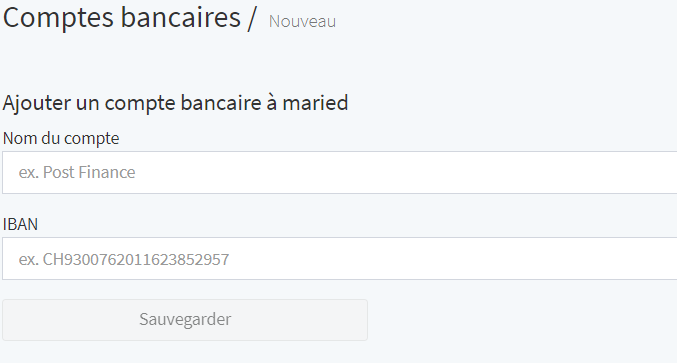
2- Then configure your company’s bank account. Choose “Bank Accounts” in the navigation menu.
Fill-in your IBAN and account information, and click on “Save”
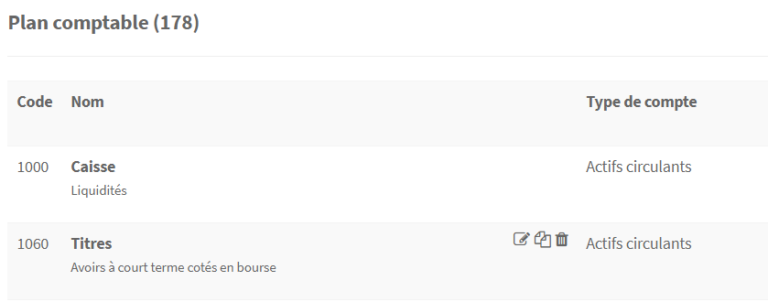
3- Familiarize yourself with your accounting chart. Go to “Settings” in the navigation menu, and click on “Accounting Chart”.
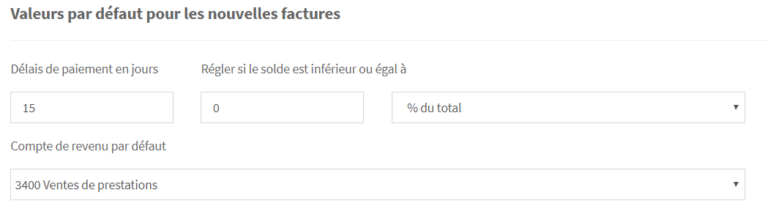
4- Enter the default value for invoices. Go to in the navigation menu, and click on “Settings”, then choose the “Invoicing” tab.
Une fois ces étapes réalisées, vous pouvez créer vos premières factures, enregistrer vos dépenses et suivre votre comptabilité dans Fiduly.
Customize logo, margins and recipient address on documents
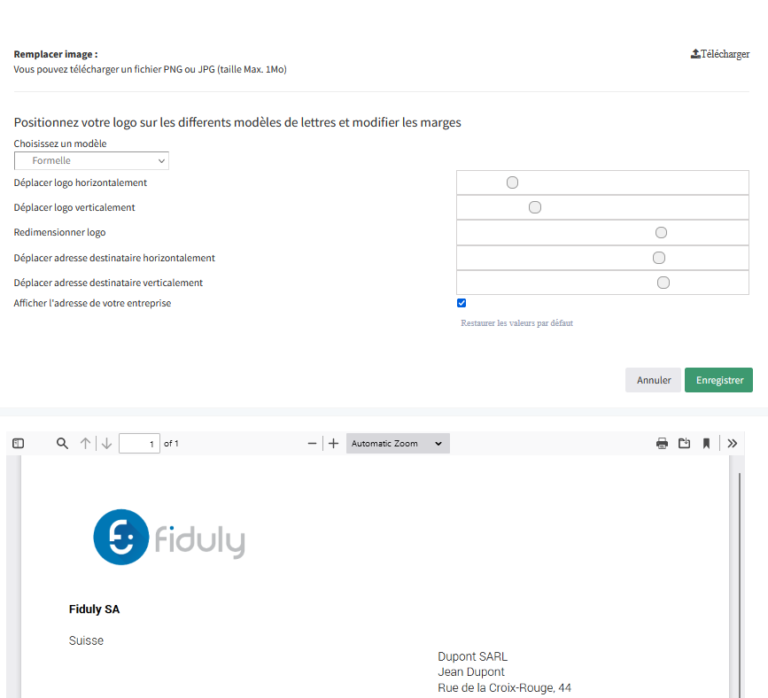
On the left side navigation menu, click on “Settings” :
On this page you can:
Delete/replace your logo
Position your logo on the different letter templates by moving it horizontally and vertically
Change the position of the recipient’s address by moving it horizontally and vertically, which can be useful if you use window envelopes
You visualize the changes in real time.
Press “Update” to save your changes
Frequently asked questions about Fiduly profile and access
It is recommended to create your company, configure your bank account, check the chart of accounts and define the invoicing settings before creating your first invoices or expenses.
Resources related to Fiduly setup
To go further, also see the guides related to setup, accounting, VAT, expenses and invoicing.